
Does the Peel 2 3D scanner by Peel 3D, a professional-grade, handheld system boasting texture capture and a sleek design, hit the mark? Read on for our review.
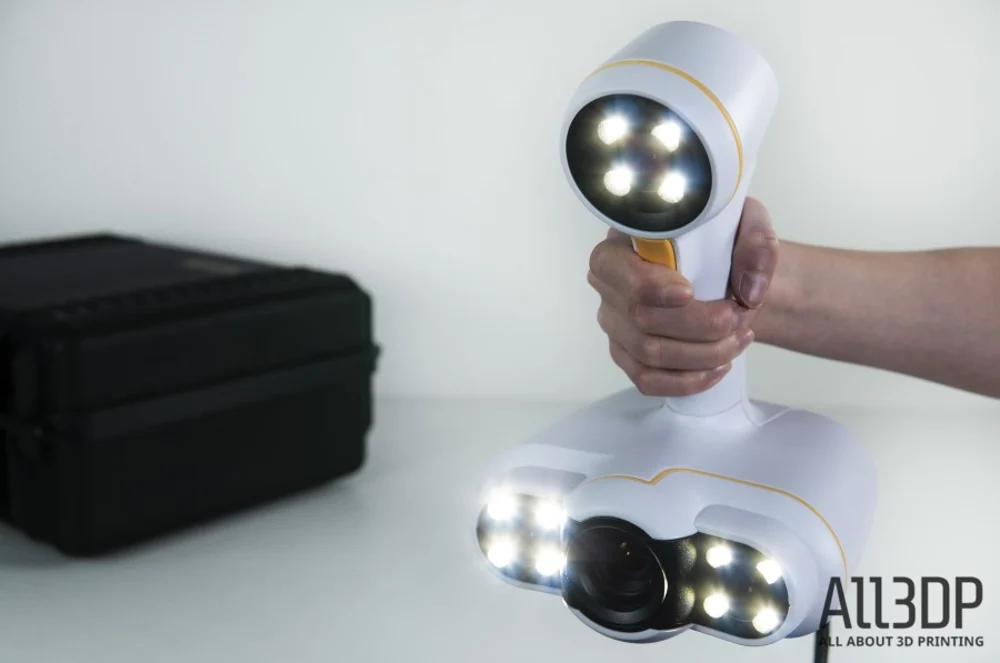
Following Peel 3D’s success with the Peel 1 handheld scanner, the Creaform-powered Canadian company set out to create something more appealing — the Peel 2. The primary difference between this scanner and its predecessor is it has three cameras, of which one picks up texture (color) of the object you’re scanning.
3D scanning is becoming more and more accessible to the masses with powerful, cheaper machines regularly being introduced to the market. The Peel 2 is essentially Creaform’s old Go!SCAN 50 and, it aims to hit that sweet spot of professional users along with hobbyists and creatives. It’s similar in a lot of ways to the Einscan Pro 2X Plus 3D scanner but offers a quirkier design and texture 3D scanning right off the bat.
So, does the Peel 2 satisfy? Or are the folks at Peel 3D just monkeying around? Read on for our review of this machine.
Verdict
Pros
- Sleek design
- Powerful software with sophisticated features
- Adept at scanning fabrics
- Texture scanning included
- Scans people well
Cons
- Finger can tire holding the trigger down during scanning
- Can be annoying to reorient scanner when tracking is lost
- Only suitable for larger-sized objects
- Software requires a bit of a learning curve
Without a doubt, the Peel 2 is a scanner that offers great value for its price. The easy-to-operate design is sleek and the machine collects both texture and geometry data. It’s especially adept at scanning fabrics and other trickier materials, but, like most scanners, it struggles with hair and shiny objects.
Where the Peel 2 is restrictive is in the size of objects it can scan. If you’ll be using it for a range of objects, be aware that smaller-sized ones are not in its wheelhouse. However, if you’re planning on using it for bigger objects – and even people – this machine is well up to the task.
Powerful software is also a noteworthy aspect of the Peel 2. It offers a host of features and mesh-editing functions that help you fill in holes exactly how you like, bridge gaps, mirror data and much more – almost completely eliminating the need to hop into a separate CAD software.
Scans Texture (Color)
Along with scanning the geometries of an object, the Peel 2 also picks up the texture to give you the full picture. This is especially useful if you’re using the scanner for art, design, heritage preservation, VR, and video games. If you’re just looking to reverse engineer parts, for example, texture scanning may not be such an important feature though.
Easy to Operate
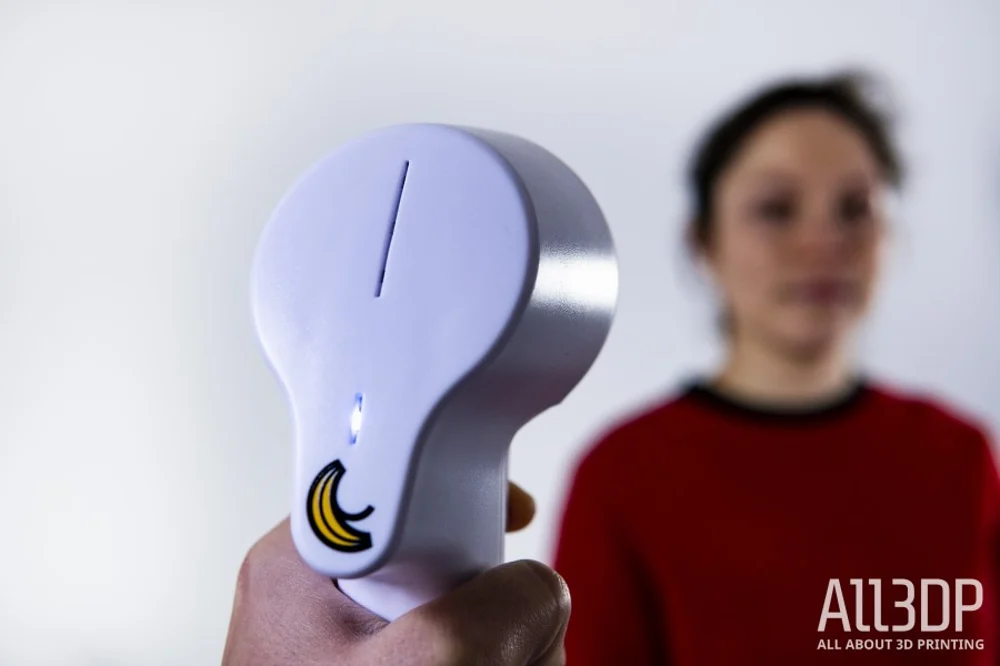
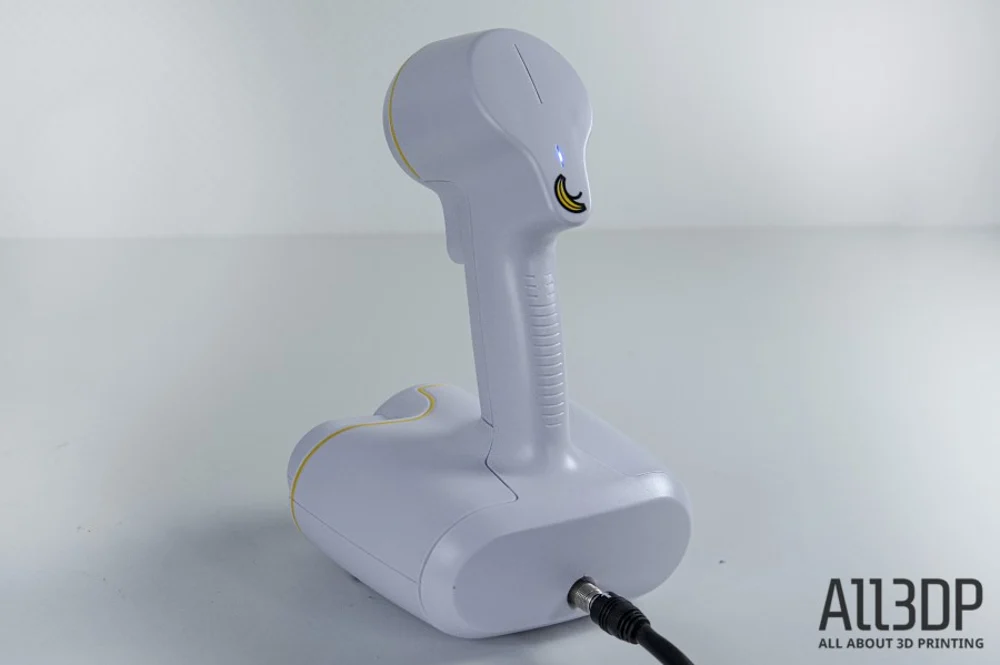
The beauty of the original Peel 1 3D scanner was its ease of use and that remains the case with the Peel 2. The scanner’s quirky design and bright yellow trigger make it easy to hold and scan objects.

Portable
With its streamlined, lightweight design, the Peel 2 is easy to pick up and move around to different locations. This is especially easy if you splash out some extra cash for the sturdy case designed for this purpose and to keep your scanner snug and safe when it’s not in use.
Though it does weigh a bit more than the Peel 1, the Peel 2 is relatively light at 950 grams and shouldn’t tire your arm out when scanning (depending on the object, of course).
Adept Software
The scanner comes with Peel 3D software, which offers a truly impressive range of useful tools to optimize the scanning process and the results. You can pause scans as you go and then restart them when you’re ready, clean the mesh, align and merge scans, correct or delete distorted frames, smooth, mirror and simplify models, and fill holes the scanner missed. You can also export the completed models in a range of file formats including STL.
Limitations
Like most 3D scanners, it will run into some issues depending on what you scan. Pitch black, shiny and clear objects will trip the device up, but — depending on the object — you can spray a little dry shampoo or scanning spray to sort it out.
It also can struggle with hair and fur (dry shampoo, in this case, is key), very intricate objects and objects smaller than 30 cm. This is definitely a drawback of the Peel 2 if you are looking to scan smaller objects like intricate pieces of jewelry or figurines. A fixed scanner with a turntable would, in this case, be a better choice than a handheld one.
Scanning
To get started using this scanner, the first step is to go through a slightly intrusive activation process that requires filling out your gender and all sorts of other personal information. Then, you have to wait up to 24 hours for your account to be created with the company. Only after this happens can you start scanning.
If you’ve already got an account with Creaform, this part isn’t an issue. But, if you’re like us, we had to wait exactly 24 hours before we could use the scanner – not ideal when you’re champing at the bit.
However, once you’re out of the 24-hour waiting period, the rest of the set up is simple.
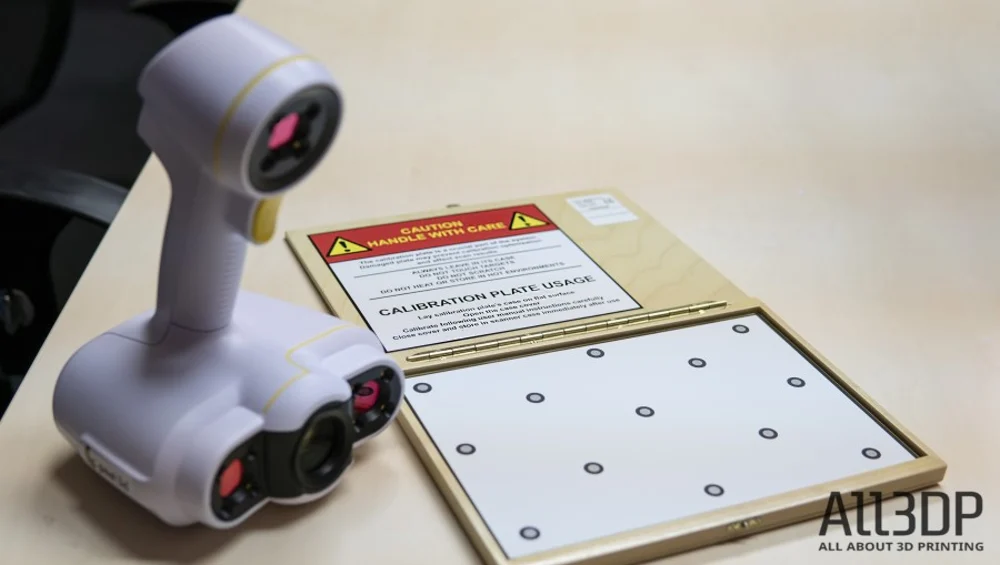
Calibrating
Calibration is easy and the calibration device comes in a wooden case that opens up to reveal the calibration plate. Like all calibration devices, you want to take good care of it so as not to scuff it up. Peel helpfully warns you to be careful and not to touch the targets, heat it or scratch it.
Just lay the case open on a flat surface and follow the instructions on the computer screen – hold the scanner over the calibration plate and try to get its white square of light to match up with the green square on the PC screen.
Once your machine is calibrated, it’s go-time.
Ease of Use
Peel’s tried to make the scanning process an easy one. (Things get more complicated when it comes to using the software (but more on that later).)
This is apparent by the simplicity of the product’s design, the not-overwhelming number of wires to wrangle and helpful features like the positioning targets coming in a handy box where you just pull the rope of stickers and they pop off.
The process is also fairly streamlined. The scanner itself is easy to hold and doesn’t weigh too much (though it can feel heavy when scanning for a while) and you scan by pushing a trigger on it with your index finger (and this absolutely can get tiring for your finger).

Depending on what or how you’re scanning, you may not be able to see your PC screen to know how the scanning is going. Are you too close to the object? Too far? Have you lost tracking? The device uses a coded light system on it to keep you informed. A red light at the top means you’re too close, a green light in the center means you’re right on target, and a red light at the bottom means you’re too far.
This is an elegant solution to not being able to see your PC screen while you scan. However, where it is slightly unwieldy is when you’ve lost tracking. Often, it can be hard to find your place again without having to look at your PC and see what area the software thinks you should be at and position the scanner accordingly.
Alternately, you can pick a place to reorient your scan yourself using the Resume Scan tool, a useful – and slightly cumbersome – tool that requires ceasing scanning, going to your PC, clicking on the icon and then selecting the area of the object where you’d like to resume scanning.
The software will also show what you’ve captured so far, with yellow being the last correctly positioned frame and purple showing that the tracking has been lost.
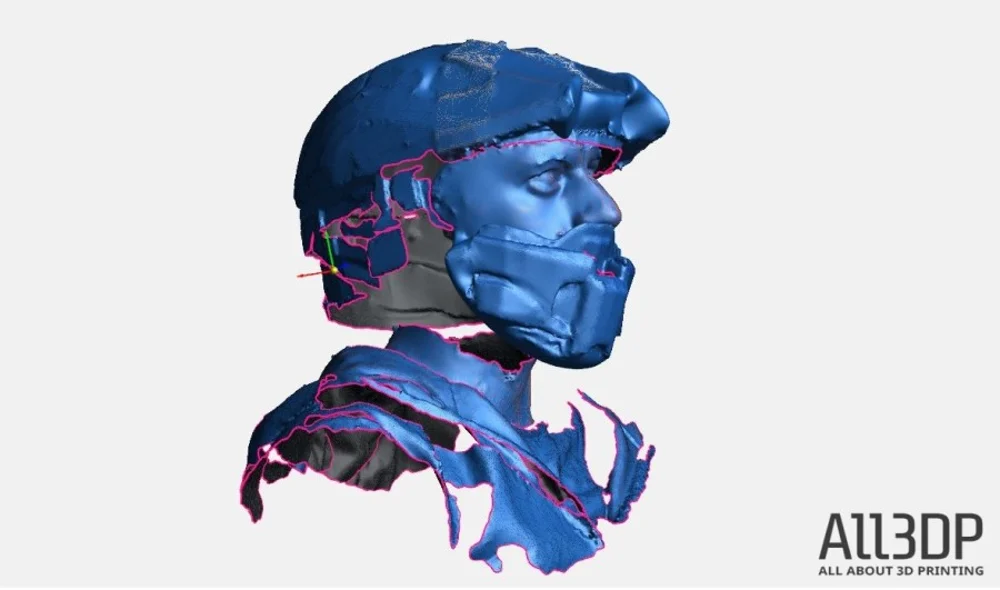
Scanning People
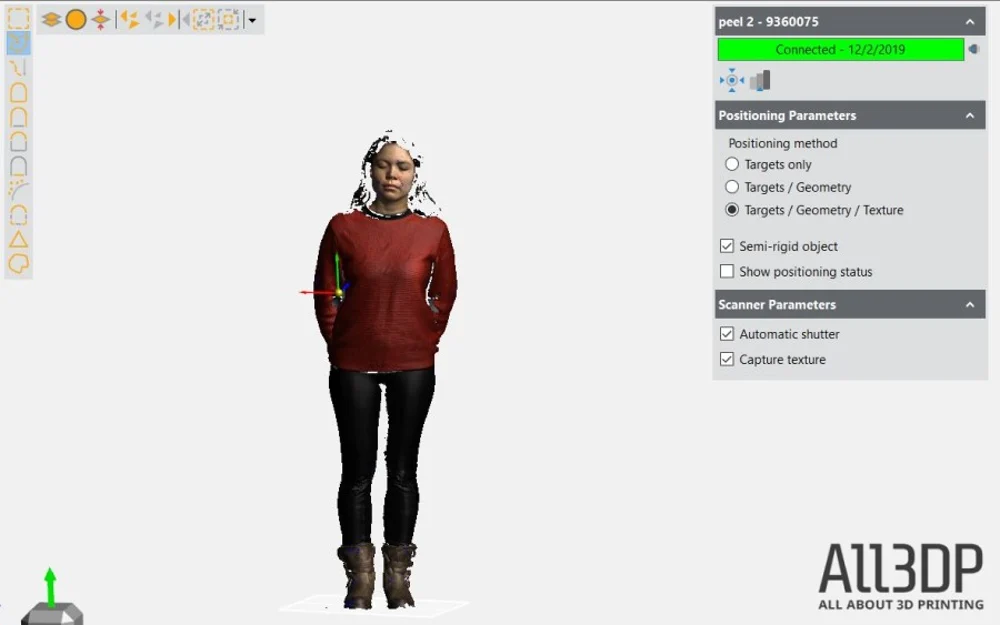
One of the perks of the Peel 2 is it’s particularly good at scanning people in comparison to similarly priced scanners on the market. This is in part because it handles fabrics quite well, so picking up clothing isn’t too challenging, but it’s also because in the software you’re able to pick a setting called Semi-Rigid Positioning, which lets the software be more forgiving when the subject shifts ever so slightly.
Scanning Objects
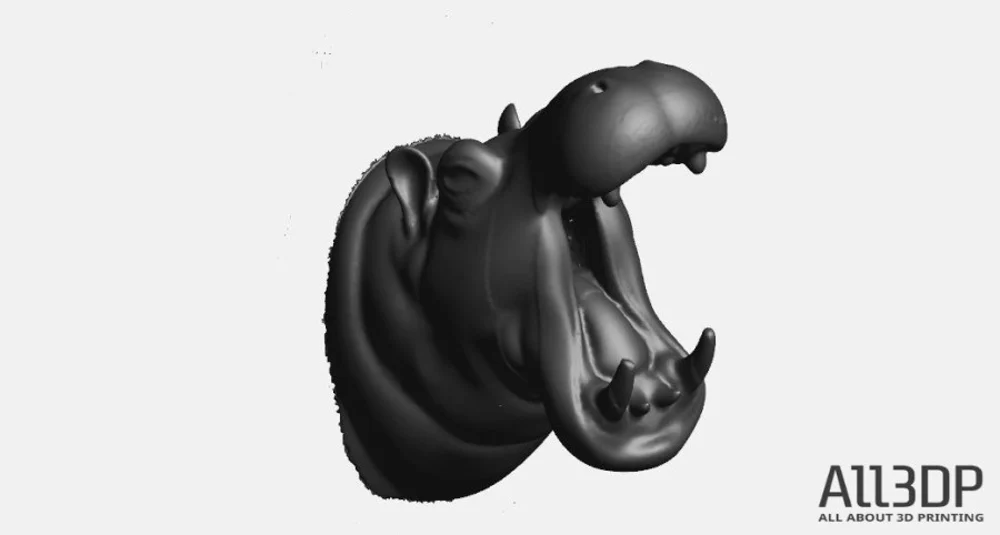
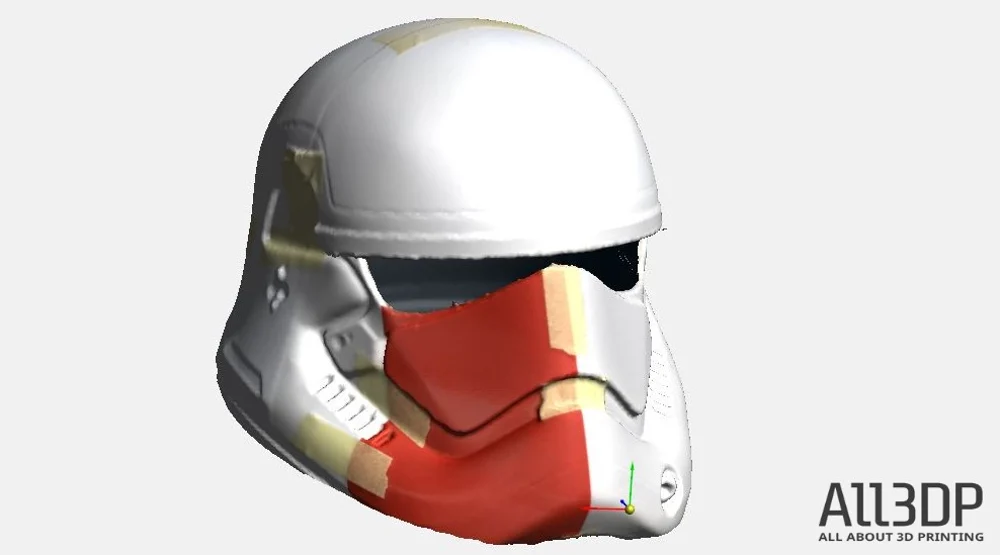
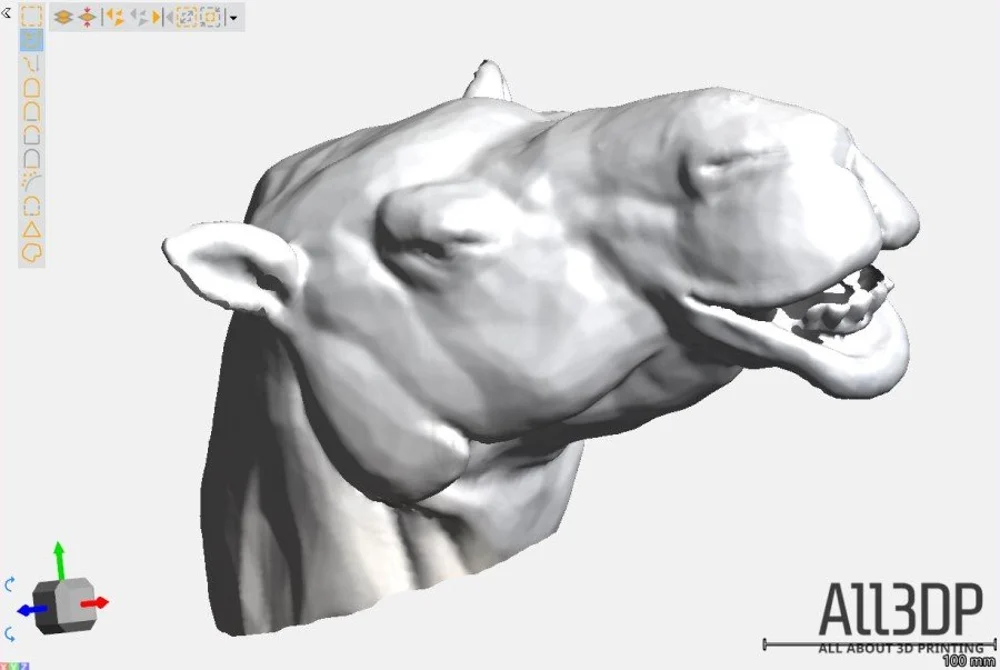
The Peel 2 is also adept at scanning objects, however, as mentioned, its strength lies in objects that are a minimum of 30 cm. Anything smaller and you’ll have a rough go of it. This does not mean, however, that it cannot pick up small details. It absolutely can, but any intricate objects that are small are out of the question.
For large flat surfaces, the Peel 2, like the Peel 1, comes with tracking markers to stick onto the object and help the scanner identify where it is. These markers show up in white and are red when the scanner is directly on it.
Like most scanners, it struggles with hair (which can be somewhat helped with a liberal dousing of dry shampoo) and reflective surfaces (and there are sprays for this as well).
Accuracy
The Peel 2 can scan with an accuracy of up to 0.25 mm. This isn’t the highest accuracy on the market in its price range. An Einscan Pro 2X and Pro 2X Plus (which, with an optional upgrade can both scan texture), for example, offer an accuracy of up to 0.05 mm when in their handheld mode. A similarly-priced Artec Eva Lite boasts an accuracy of up to 0.1 mm (but does not offer texture scanning).
Peel Software
For a scanner that is ostensibly suited towards hobbyists and people looking to use it for semi-professional purposes without the budget for a more powerful scanner, the software is not that easy to use (though perhaps with better documentation it could be). Its user manual, as mentioned, is a sprawling tome of 174 pages which – aside from lacking brevity – lacks clarity.
However, what the software lacks in intuitiveness it more than makes up for in utility, with handy tools like mirroring, bridge creation and others, all of which are useful and exciting to have. If this is your first foray into 3D scanning, be prepared for a steep learning curve to become accustomed to it but know that these efforts will be rewarded.
To help with the learning curve, the software offers an optional feature in the top right corner called “Contextual Help”, which is, well, helpful, but could be a little more so. Peel could also consider having offering more tutorial videos for users to get a more in-depth understanding of the software’s capabilities.
Ease-of-use gripes aside, The Peel software is full of surprises. It offers all kinds of sophisticated features, like partial hole filling, entire hole filling and bridging holes. You can align and merge multiple scans, select how glossy you want your object to appear, and have pretty thorough control over data you select from your scans.
One slightly heavy-handed aspect of the software is that when you delete data, a lot of the time the deletion is permanent and cannot be regained by hitting Ctrl-Z. You can always rescan an object or area, but this is a lot more time consuming and way less simple.
Once you’ve got all your scanned data, you can mesh it and then refine it. Some of the options to do this are the Clean Mesh function, where you can select imperfections you want the software to automatically eliminate, like isolated patches, spikes in the mesh or small holes.
The software really shines when it comes to filling holes and editing boundaries. You can fill them entirely, partially, or, for extra precision, you can even bridge them to make sure the geometries are exactly right. You can also specify how you want the holes to be filled depending on whether they’re on an area with a lot of curvatures or a flat one.
There are options to defeature areas so if they have a lot more details on them than necessary they can be smoothed out. You can also refine mesh to increase the number of triangles and create a smoother surface (while heightening the existing features).
Peel software also lets you flip the outside of a surface in, cut mesh wherever you like (and make it watertight again, if you want), mirror part of an object to make it symmetrical (a very useful tool when reverse engineering parts, especially if a part is damaged in one area, but intact in another), scale an object … In all, this software is extremely powerful and almost eliminates the need to hop into a separate CAD software.
Finally, you can save your data in either a Peel 3D session to open it up again later in the software exactly how you left it, you can mesh the data into an STL or OBJ file, or you can save it as an optimized point cloud in a TXT file.
Final Thoughts
This is an impressive scanner. If you’ve got larger-sized objects to scan and you need texture scanning capabilities, it’s got you covered. It scans people and fabrics exceptionally well and the software – though tricky to get acquainted with – is well worth the effort to learn. It’s extremely powerful and is capable of a real range of tasks.
Tech Specs
Here are the technical specifications for the Peel 2 3D scanner:
- Recommended object size range: 30 to 300 cm (1 to 10 ft)
- Scanning accuracy: Up to 0.250 mm (0.01 in.)
- Mesh resolution: 0.500 mm (0.020 in.)
- Measurement resolution: 0.250 mm (0.010 in.)
- Measurement rate: 550,000 measurements/s
- Light source: White light (LED)
- Positioning methods: Geometry and/or targets
- Scanning area: 380 x 380 mm (15 in. x 15 in.)
- Stand-off distance: 400 mm (15.75 in.)
- Depth of field: 250 mm (10 in.)
- Part size range (recommended): 0.3 – 3.0 m (1 – 10 ft)
- Texture: Yes (24 bits)
- Texture resolution: 50 to 150 DPI
- Software: Peel 3D
- Output formats: .dae, .fbx, .ma, .obj, .ply, .stl, .txt, .wrl, .x3D, .x3Dz, .zpr
- Weight: 950 g (1.9 lbs.)
- Dimensions: 150 x 171 x 251 mm
- Connection standard: 1 x USB 2.0, USB 3.0 compatible
- Operating temperature range: 5-40 °C (41-104 °F)
- Operating humidity range (non-condensing): 10-90%
MINIMUM SYSTEM REQUIREMENTS
- Recommended PC: Model HP ZBook 15
- Processor: Intel Core i7 (4+ cores) – 2.7 GHz or more
- Operating system: Windows 7 64 bits, Windows 8.1 64 bits or Windows 10 64 bits
- Graphics card: NVIDIA card with at least 2 GB memory, OpenGL 4.3 and later
- Memory: 16 GB (minimum) or 32 GB (recommended)
- Hard drive: At least 100 GB of free space or 200 GB (recommended)
- Connecting ports: 1 × USB 2.0, USB 3.0 compatible